This is one of my favorite projects Ive done hands down! It made my bedroom look so much bigger and brighter, I just absolutely love it. I feel more like a grown up hehe.
While I love it, it was crazy frustrating to do. See, with this project alllllll those squares have to be literally perfect. If one board is crooked and messed up-they all will be.
So your measurements have to be EXACT!
Now, while I dont have a ton of photos to show you, as when im doing a project I get really into it and forget to document it all.. I will show you how I (with a little help from the hubby) made our bedroom DIY Grid Wall!
First is picking the size of your boards. I went with 1x3 as the 1x2 felt too skinny and the 1x4 felt too bulky and wouldn't give me the look I was going for. So off to my second home-HomeDepot for some wood with little miss Emma (she loves this store just like her mama). With the wood only being $1.50, each I was happy how small my total was. All of them were 8ft long. So your boards will be 1x3x8

Second is the crazy annoying part - measurements!!! Beware, it involves some math (Cue Belt from the Disney movie The Croods "don don donnnn").
I made a little drawing in my notes on my phone. I played around a little to see how many squares I wanted.

I measured the length of my wall, and the height.
My width was 146inch/12.2ft & my Hight being 96inch/8ft
The 1x3 wood is 2.5 wide.
- I wanted 6 squares across. so needed 7 boards.
- 7 x 2.5(wood length) =17.5
- 146(measurements of W) - 17.5 = 128.5
- 128.5 divided by 6(number of squares i wanted across) =21.4
So thats how I figured out my squares needed to be exactly 21.4 across.To figure out how high you want your squares, do the same but with your Hight measurements,
- I wanted 4 squares down.
- 4 x 2.5 (wood lenth) =10.
- 96 (measurements of H) - 10 = 86.
- 86 divided by 4 (number of squares I wanted down) = 21.5
So by doing annoying math I knew my measuremnts to make the squares to fit the shape of my wall would be 21.4 H & 21.5 W
Phew that was rough. Since I graduated high school that was the first time I ever had to do something I learned in geometry class. Wow. L x W divided by H..ahhhh memories.
Third So now that I got my meausrments was time to smack those 1x3 bad boys to the wall. Thankfully with my amazing Chop Saw I was able to cut my pieces myself.
Making my hubby help we used finishing nails and hammered away.
(Tip, I recommend hammering in all your Height pieces first as the Width can be longer and make this project more challenging. Especially if you're trying to fit 12+ft boards in your car :0

Fourth Is now to use caulk. Caulk everywhere. Over the holes where you hammered in finishing nais. Caulk on the edges of alllllll the squares. Then, sand it all down... caulk & sand, caulk & sand, caulk & sand.
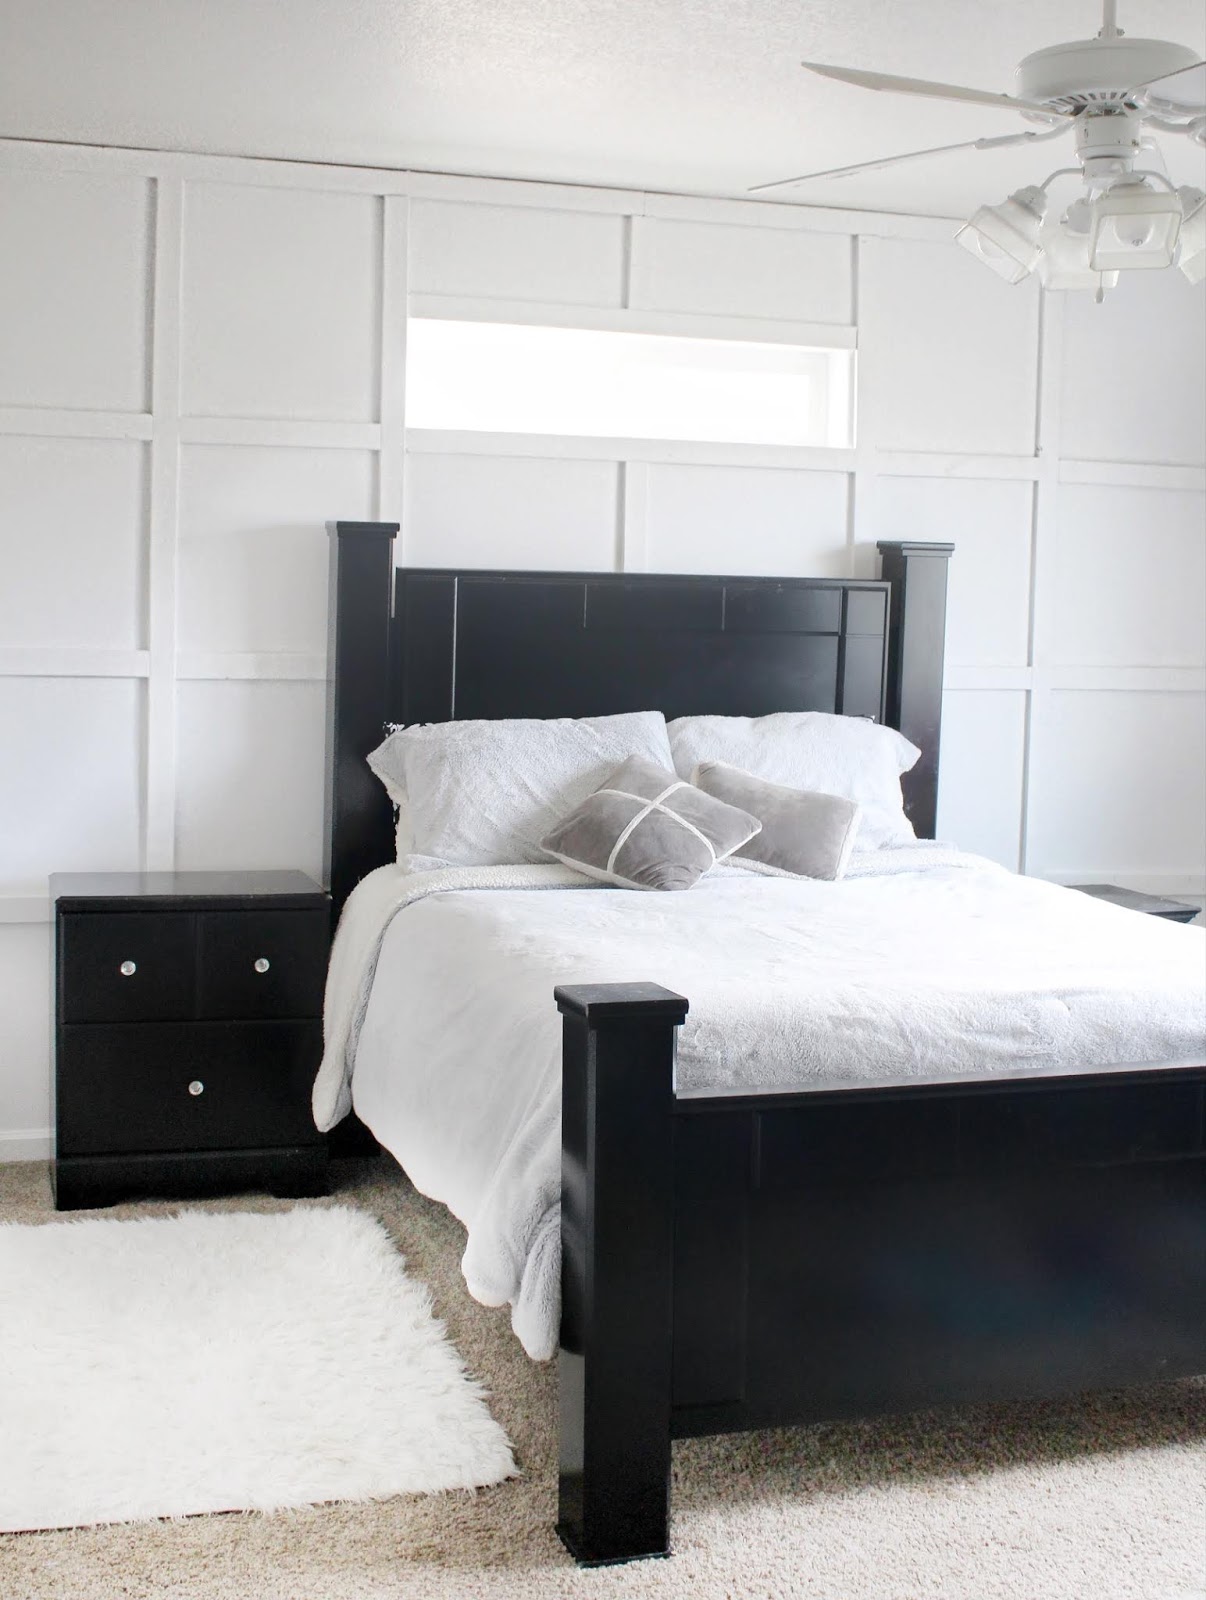
Fifth Now last and final, and the most fun part PAINTING! I used Behr Ultra Plus in semi gloss, in eggshell white. I wanted white as I could go. With my black bedroom furniture the white looked gorgeous!!!

Okay, so I know my DIY how-to is kind of insane to undertsand, but hey, i finally made a blog for one of my projects right? lolllll
Now on to project 2 for the month. 2020 Starting out great.
Happy DIYing. tag me in any Grid Walls you do. I just love them!
I want to give a huge shoutout to BestChoiceProdcuts as THIS LADDER made this project so much easier to do. It helped my short self reach, and it held my paint, brushes, hammer--everything I needed. Really great product!

-Apart Of Our World


Comments
Post a Comment